


Replacing an above-ground pool liner is a full drain, remove, prep, and reinstall job that most homeowners can finish in a weekend. What separates a clean install from a stretched or leaking one is preparation. The right liner type, an even base, and a warm dry day all give the vinyl room to stretch into shape.
Step 1: Confirm Your Liner Type and Pool Measurements
Identify which liner type your pool uses and confirm the exact dimensions before draining anything. Above ground pools use one of three styles. Overlap liners drape over the top of the wall and are held in place with plastic coping strips. Beaded liners snap into a track at the top of the wall. Unibead liners can hang as a J-hook over the wall or convert to a beaded fit, depending on your setup.

Measure the pool's diameter (or length and width for an oval) at the widest point, then measure wall height from the floor to the top of the wall. Most above-ground walls are 48, 52, or 54 inches tall. Check the measurement in several places, since a difference of even one inch can leave the liner sitting too tight or too loose.
Beaded and unibead liners are the fastest to install because they do not require removing the top rails, while overlap liners are usually the most affordable.
Step 2: Drain the Pool Completely
Use a submersible pump to drain the pool fully, then handle the last few inches with a wet/dry shop vacuum. A garden hose siphon works in a pinch, but a rented submersible pump is faster and discharges water far enough away to avoid soaking the base.
Pick a dry day. Saturated ground under and around the pool will make the floor harder to level later. Once the pump loses prime, cut the old liner near the floor on one side and lift the opposite half so the remaining water pools in a smaller area, where the shop vacuum can finish the job.
Step 3: Disconnect the Skimmer, Return, and Old Liner
Disconnect the plumbing from the skimmer and return on the outside of the pool, then remove the screws on both faceplates with a #3 Phillips screwdriver and store the hardware in a labeled bag. Take out any pool accessories attached to the liner, such as steps or in-pool ladders.
How you free the liner depends on the type. For overlap liners, remove the top rails and lift off the coping strips, handling them carefully because aged plastic becomes brittle and may need replacing. For beaded liners, pull the bead up and out of the track without yanking, which can damage the track.
For unibead/J-hook liners, slide the hook off the top of the wall. Once released, cut the old liner into manageable strips with a utility knife and roll them out of the pool. New gaskets and faceplates are recommended whenever the liner comes out, since the old ones rarely seal cleanly the second time.
Step 4: Prep the Floor and Inspect the Walls
A new liner reflects every imperfection underneath it, so this step deserves the most time.

If you have a sand base, use a landscaping rake and a flat trowel to fill heel divots and knock down ridges. Build the sand cove back up where the floor meets the wall so the corner is rounded rather than sharp. To check level, lay an 8-foot 2x4 with a carpenter's level on top and rotate it across the floor.
If you have vermiculite or a concrete base, sweep it clean and patch any cracks. On the walls, sand or paint over rust spots, and apply wall foam if the steel surface feels rough to the touch.
Three options sit between the liner and the surface beneath it, and each handles a different problem. A sand cove smooths the floor-to-wall corner and is the cheapest, but breaks down over time. A pre-formed foam cove installs in minutes, holds its shape for years, and protects the liner from rusty wall edges.
A floor pad sits across the entire floor and cushions the liner against small stones and roots that work their way up. Foam cove plus a floor pad is the most durable combination and worth the small extra cost during a replacement.
Step 5: Position and Anchor the New Liner
Install the new liner on a warm day (ideally 80°F or higher) so the vinyl is soft and stretches without resistance. Cold vinyl is stiff and almost guaranteed to leave wrinkles. Unbox the liner inside the pool, unfold it from the center outward, and make sure any patterned border faces the right direction at the waterline.
Attach the liner at four cardinal points first (north, south, east, west), then add four more between them (northeast, southeast, southwest, northwest). Working in eight points of tension before securing the rest is the single biggest factor in avoiding a crooked install.
For overlap liners, drape the vinyl over the wall, set coping strips evenly around the perimeter, and reinstall the top rails. For beaded liners, press the bead into the track all the way around. For unibead, choose the hook or the bead orientation based on your wall, and lock it in place.

Step 6: Smooth Wrinkles and Seat the Liner
Smooth the liner from the center outward toward the walls before any water goes in, then use a shop vacuum to pull the liner tight against the floor and walls.
Insert the shop vacuum hose behind the liner near the skimmer opening and seal the opening with duct tape so it does not leak air. Turn the vacuum on. The liner should pull snug against the wall and floor, revealing any remaining wrinkles. Walk barefoot or in clean socks across the floor and press out the wrinkles by hand. Keep the vacuum running until the floor looks smooth and the wall hugs the steel evenly.

Step 7: Fill the Pool and Reattach Fittings
Start filling with a garden hose at the center of the pool and keep the shop vacuum running until the water reaches roughly six inches. Fill slowly so water weight seats the vinyl evenly.
Once the water reaches the bottom of the skimmer and return openings, stop filling and cut the vinyl out of those openings with a utility knife. Install fresh gaskets, screw the faceplates back into place using a #3 Phillips driver, and tighten in a star pattern so the seal is even. Reinstall any in-pool steps or ladders, then continue filling to the normal operating level. Reconnect the pump and filter only after the water passes the return inlet.
Tips to Extend the Life of a New Pool Liner
A few habits during and after the install separate a liner that lasts six years from one that lasts twelve.
-
Install on a warm, sunny day with no rain in the forecast. Vinyl needs heat to stretch.
-
Never drain a vinyl pool unless you are replacing the liner. Dry vinyl in direct sunlight starts puckering and shrinking within hours.
-
Go easy in the first month. Avoid heavy chemical shocks until the new liner has fully seated, and let water temperature stabilize before swimmers add lotions and oils to the mix.
-
Use a ladder pad under in-pool steps or ladders. Constant foot traffic in one spot is one of the most common causes of premature wear.
-
Use liquid chlorine and keep it balanced. Powdered or granular chlorine poured directly on vinyl bleaches and weakens it. Brush the liner gently and skip stiff brushes.
-
Winterize properly. Lower the water just below the skimmer (not all the way), use an air pillow under the cover to absorb ice expansion, and check the cove and floor pad for damage in spring before refilling.
Automated Cleaning to Protect Your New Liner
Leaves, grit, and sand sitting on the floor act like sandpaper under foot traffic and slowly wear thin spots into vinyl. A cordless robotic pool cleaner removes that abrasive layer on a regular schedule without manual brushing, which is one of the most effective ways to extend the life of a new liner.
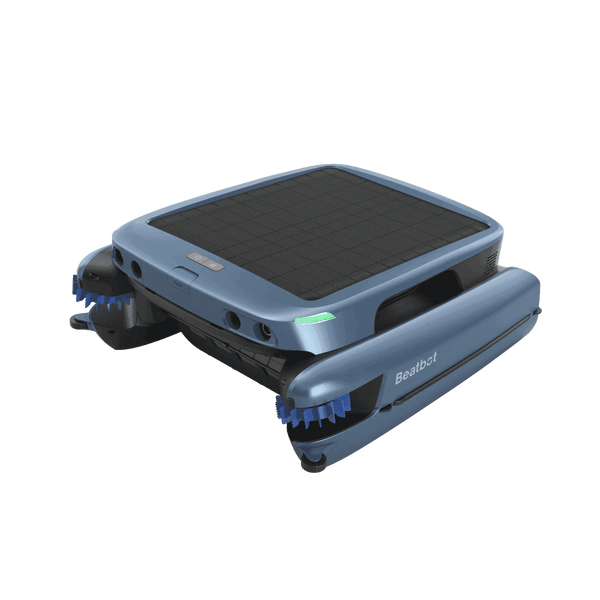
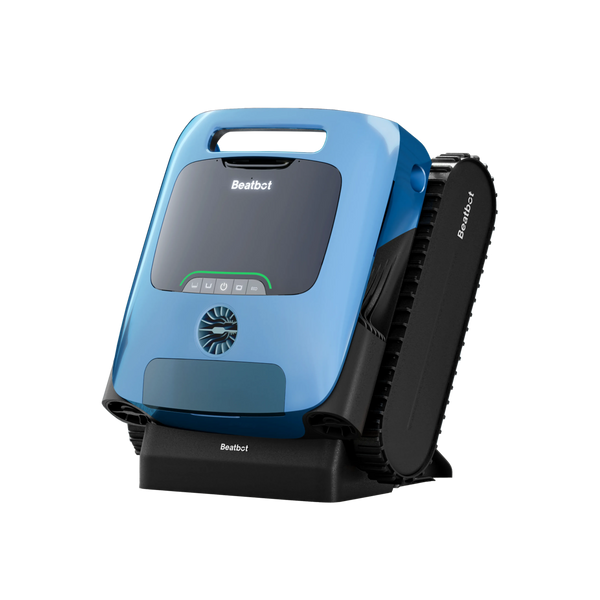
The Beatbot Sora 70 robotic pool cleaner stops debris before it ever reaches the floor. Its 4-zone cleaning cycle covers floor, walls, waterline, and water surface, so leaves, pollen, and bugs get pulled in at the surface instead of settling and grinding against the liner. A 6,800 GPH suction and 6L filter give it the capacity to keep up with the heaviest debris loads.
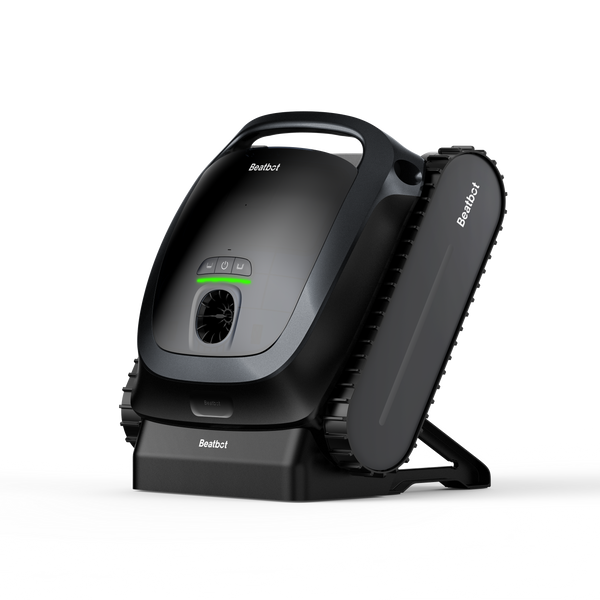
The Beatbot Sora 30 cordless robotic pool cleaner targets the spots that wear fastest. Platforms, tanning ledges, and shallow ends take the most foot traffic and are exactly where most cleaners cannot reach. The Sora 30 actively seeks and cleans accessible platforms and shallow areas as low as 8 inches deep, so the liner zones under the most physical stress stay free of grit.
The Beatbot Sora 10 pool cleaning robot keeps the abrasive layer from building up in the first place. Frequent cycles across floor, walls, and waterline pull debris before it has time to scratch the vinyl. Smart waterline parking brings it to the pool edge for easy pick-up at the end of each cycle, removing the friction that makes owners skip cleanings.
When to Replace an Above-Ground Pool Liner
Most above-ground pool liners last six to ten years. Liners that pass the ten-year mark exist but are the exception, usually thanks to careful chemistry and consistent debris control. The right time to replace is when leaks, stretching, or surface damage start outpacing what patches can fix. Cosmetic fading alone is not always a reason to replace, though it often signals that the vinyl is thinning.
Four signals point to replacement. Water loss greater than evaporation that traces to a tear or pinhole, especially around fittings, steps, or the floor. Visible stretching or sagging away from the wall, which means the vinyl has lost elasticity. Deep stains or surface cracking that brushing and chemical treatment cannot lift, since the protective layer of the vinyl has failed. And repeated patches in the same area, which means the substrate is no longer stable enough to support the liner.
FAQs
How long does it take to replace an above-ground pool liner?
Plan one to two working days for the replacement itself, plus a separate day to refill. Floor and wall prep usually takes the longest. Refill time depends on pool size and your water pressure.
How much does it cost to replace an above-ground pool liner?
DIY replacement runs roughly $250 to $800 for the liner and supplies. Hiring a professional adds $300 to $800 in labor, putting a full installed job in the $550 to $1,600 range. Beaded liners and thicker 25-mil vinyl sit at the higher end.
Can I install a new pool liner over the old one?
No. The old liner has to come out completely. Stacking traps moisture, hides damage on the wall and floor, and prevents the new vinyl from seating evenly, which guarantees wrinkles and a much shorter life.
What time of year is best to replace an above-ground pool liner?
Late spring through early summer. Vinyl needs warm air (ideally 80°F or higher) to stretch without wrinkles. Avoid early spring (cold vinyl) and late fall, where freezing weather can hit before the liner has fully seated.
How does water get behind a pool liner?
Groundwater rising through the floor after heavy rain, leaks at the skimmer or return fittings, or a small tear letting pool water seep behind the vinyl. Fix the source before refilling, since trapped water keeps lifting the liner off the floor.
What size submersible pump do I need to drain the pool?
A 1/4 to 1/2 horsepower submersible pump handles a typical 24-foot round above-ground pool in eight to twelve hours. Most home improvement and hardware stores rent these by the day.