Why Do You Need To Paint The Swimming Pool
Painting a swimming pool can not only make it look fresh and clean in asthetics, but also play a significant role in maintaining the pool's longevity by protectig the surface from damage. An adequately painted layer can help hinder algae growth, resist chemical effects, and shield the underlying material. Additionally, painting addresses minor cracks and imperfections to make the pool remain long and durable. Still, there are many factors to consider when painting a swimming pool, as well as expert tips to enjoy safer swimming.
Table of contents

All benefits and no harm: Why you need to paint your pool
Prevent algae infestation:
Some algae grow very quickly. Once they enter the pool, they will quickly breed on the surface of the tiles, turning the water green and leaving unsightly stains on the tiles. The paint applied to the tiles is an artificial barrier that can slow down and inhibit algae growth, keeping the pool clean and clear.
Resist chemical influence:
Everyone knows the importance of regulating chemical balance. Therefore, a constant stream of chemicals will be added to your pool to balance the water quality, but this may erode the surface of the pool.Protective coatings help protect the pool materials from corrosion by these chemicals and extend the life of the pool.
Enhance durability:
Over time, cracks and imperfections will appear on the surface of the pool, which not only damages the integrity of the pool, reducing the beauty and home value, but also risks scratching swimmers. Moreover, cracks are a shelter for algae and microorganisms to take root. Painting can not only cover these imperfections, but also strengthen the surface and make it more resistant to wear and tear.
Why Paint Your Swimming Pool Now?
With summer just around the corner and temperatures steadily climbing, now is the ideal moment to give your swimming pool a fresh coat of paint. But why is now the perfect time? Let’s dive into the reasons:
Optimal Weather Conditions
- Comfortable Temperatures: Springtime offers milder weather, providing the perfect environment for painting tasks. This means you can work comfortably without the scorching heat of mid-summer.
- Stable Humidity Levels: Lower humidity ensures that paint adheres better and dries evenly, resulting in a smooth, long-lasting finish.
Ready for the Season
- Avoid the Rush: By painting now, you’ll be ahead of the curve, avoiding the busy season when pool maintenance services are in high demand.
- Immediate Use: When summer hits its peak, your pool will be ready for action. No waiting around for paint to dry means more time enjoying the water.
Extend Pool Lifespan
- Protective Barrier: Fresh paint acts as a defensive shield, protecting your pool’s surface from the harsh ultraviolet rays and chemical exposure, which can cause costly damage.
- Aesthetic Appeal: A newly painted pool looks inviting and well-maintained, enhancing the overall aesthetic of your backyard oasis.
Cost-Effective
- Off-Season Deals: Early painting may also lead to cost savings, as paint suppliers sometimes offer discounts before the peak pool season starts.
Take advantage of the favorable conditions and tackle this maintenance task now. By doing so, you ensure your pool is not only prepared for hot weather but also maintained for extended durability and beauty.
Steps to Paint a Swimming Pool
Drain the pool
Any moisture can interfere with the adhesion and drying process of the paint, so before the whole project begins, you need to drain the water from the pool completely and make sure its surface is dry by wiping it.
Clean the pool
To ensure that the paint can adhere firmly to the surface of the pool, you need to make sure that its surface is free of oil and various potential contaminants. A high-pressure cleaner can be used to thoroughly clean the pool to remove dirt, algae and debris, and then scrub it with a mild detergent.
Etch the surface
Increasing the roughness of the surface can increase the adhesion of the paint and ensure that it bonds more firmly to the surface of the pool. To achieve it, you can use hydrochloric acid to etch the surface of the pool to form some rough texture.
Repair cracks and chips
Inspect the surface of the pool for any cracks or chips and repair them with a suitable repair agent. This step can ensure a smooth and even paint job, otherwise some potential problems may affect its life.
Prepare for Painting
Mask off any areas you do not want to paint with painter's tape. This includes pool fittings, lights, and skimmers. Ensure you have all your painting tools ready and the pool surface is arid.
Apply the Primer (if necessary)
Some pool paints require a primer. If your chosen paint does, apply the primer according to the manufacturer's instructions. Ensure:
- Even application across all surfaces.
- Complete drying as recommended by the primer manufacturer.
Paint the Pool
Begin applying the paint using rollers and brushes. Follow these guidelines:
- Application Method:Start from the deep end and work to the shallow end to avoid stepping on freshly painted surfaces.
- Coating:Apply the paint evenly, adhering to the manufacturer's guidelines for application thickness and drying times. Typically, you will need to apply two layers.
- Drying Time: Each layer should be dried thoroughly before applying the next one. For the first coat, mix the pool paint with one pint of clean water per gallon of paint. Allow this coat to dry for 4-6 hours to ensure optimal adhesion and finish.
Apply the second coat without thinning the paint, aiming to keep it as close to the recommended spread rate as possible for the best results.
This method ensures each layer bonds correctly, providing a durable and long-lasting finish.
For a versatile pool painting solution, consider using a waterborne acrylic emulsion pool paint. This type of paint is compatible with most existing pool paints that are in good shape. It's also suitable for bare surfaces such as concrete, marcite, gunite, and various other masonry materials, provided they are structurally sound. This makes it an ideal choice for both refreshing existing coatings and starting anew on untreated surfaces.
Let the Paint Cure
After applying the final layer, allow the paint to cure for the recommended time, ranging from a few days to a week, depending on the paint type and weather conditions. This curing time is essential for ensuring a durable finish.
Refill the Pool
Once the paint is fully cured, which typically takes about 5 days, refill the pool with water. This waiting period ensures the paint has adequately set, preventing any premature damage.
During the first few days after refilling, keep a close eye on the pool for any signs of paint peeling or other issues. If any problems arise, consult the paint manufacturer for troubleshooting tips.
By giving the paint enough time to cure and monitoring the pool closely, you can enjoy a beautifully painted pool that stands the test of time.

Tips You Need to Know: How to Paint a Pool
Choose the Right Paint:
- Epoxy paint: This paint is very durable and long-lasting, making it a good choice for concrete and fiberglass pools.
- Acrylic paint: This type of paint is easier to apply and is suitable for plaster and concrete pools.
- Rubber-based paint: It is flexible and highly resistant to pool chemicals.
Choose the Right Weather Conditions:
Choose dry, warm weather to paint your pool. Otherwise, adhesion will be affected.
Safety Precautions:
Wear protective gear when handling chemicals and paints. Follow the manufacturer's safety instructions for each product used.
Application Techniques:
Use rollers and brushes to apply long, even strokes to avoid streaks and uneven coverage. Overlap each stroke slightly to ensure complete coverage.
Maintenance:
Check the pool surface regularly for signs of wear and tear and touch up as needed. Maintain a balanced pool chemistry to extend the life of paint.
Use a Robotic Pool Cleaner
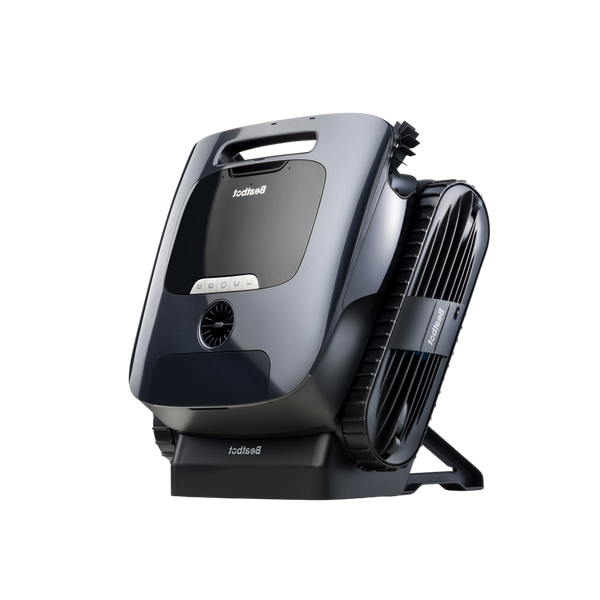
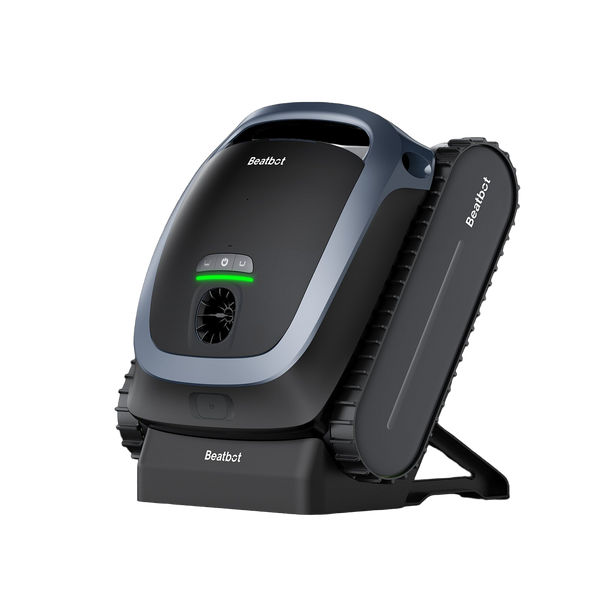
Keep your pool clean, reduce dirt and algae buildup, and help protect the freshly painted surface. Remember when using a pool robot, these devices have powerful and efficient cleaning capabilities. It’s crucial to allow the paint to fully cure before using a robotic cleaner to avoid any damage to the new paint.

Conclusion
Following these steps and tips can achieve a professional and long-lasting finish for your swimming pool. Proper preparation and suitable materials are critical to a successful painting project. Enjoy your newly painted pool and its refreshed look to your outdoor space.
Additional Tips for a Successful Pool Painting Project
Testing for Moisture
Before painting, test the pool surface for moisture. Even if the surface appears dry, underlying moisture can cause paint adhesion problems. To test: Tape a small piece of clear plastic to the pool surface. Leave it for 24 hours. If condensation forms under the plastic, the surface is still too moist for painting.
Temperature Considerations
The temperature during painting and curing should be around 50°F to 90°F. Follow the instructions of the paint manufacturer. Avoid painting under direct sunlight.
Mixing Paint Properly
Thoroughly mix the paint according to the manufacturer's instructions to ensure consistent color and performance. Use a clean stick or mechanical mixer for even mixing.
Painting Edges and Corners
Paint carefully. For the edges and corners where rollers can't reach, use a smaller brush to ensure that these areas are well-covered to prevent peeling and chipping.
Environmental Impact
Always protect the environment. Use eco-friendly pool painting products, even though they might be slightly more expensive than others. Remember: poor paint can be significantly harmful to the environment.
Relative Blogs
About the author


