


When I talk to pool owners this time of year, there’s always one question that comes up:
“Isn’t it enough to just toss on a pool cover and call it a day?”
And I get it. Summer’s over. The kids are back in school. The pool’s not getting used. Cover it up — done. Right?
But just like prepping your house for winter, your pool needs care, planning, and yes — a few non-negotiable steps to prevent costly surprises in spring.
Whether this is your first year closing a pool or your tenth, here’s something to consider: skipping even one of these steps could mean dealing with algae blooms, cracked pipes, or stained liners next season.
Let’s walk through 7 steps every pool owner should take — no fluff, no overkill, just what matters.
1. Balance Your Water Chemistry
Think of this as giving your pool a clean start before its long winter nap.
Balancing your water (water pH, alkalinity, calcium hardness) does more than just keep the water clear — it protects your liner, surfaces, and hardware from corrosion, staining, or scaling.
Here’s where order matters:
-
Step 1: Shock the pool. Use a chlorine-based shock to kill off bacteria and organics. Wait at least 24–48 hours before covering.
-
Step 2: Add winter algaecide. This helps prevent green water or algae blooms in early spring.
-
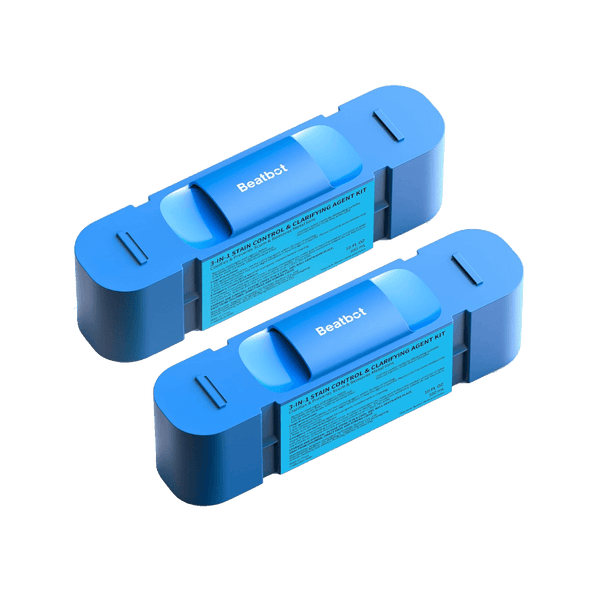
Step 3: Add metal sequestrant. If your water contains iron, copper, or other minerals, this helps prevent ugly stains and buildup.
Adding these in the wrong order can reduce their effectiveness — or worse, cancel each other out.
Also, test your water again 24 hours after chemical treatment. Don’t guess — verify.
SEE ALSO Basic Pool Chemistry 101: Understanding Pool Water Balance
2. Clean Your Pool Thoroughly
Let’s say you skip cleaning. What happens?
Everything left behind — leaves, oils, insects, sediment — doesn’t disappear over winter. It decays. It stains. It throws off your water chemistry, making your spring opening way harder (and more expensive) than it needs to be.
Now, let’s compare methods:
-
Manual cleaning: You’ll need a vacuum head, telescopic pole, hose, skimmer, and brushes. Expect 1–2 hours of effort.
-
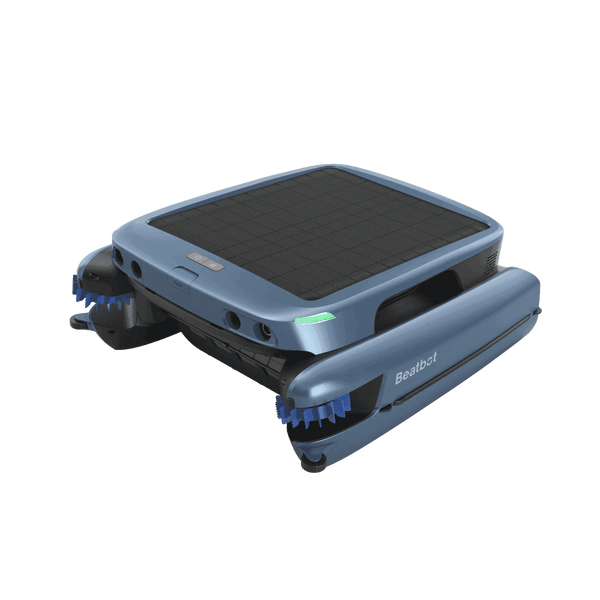
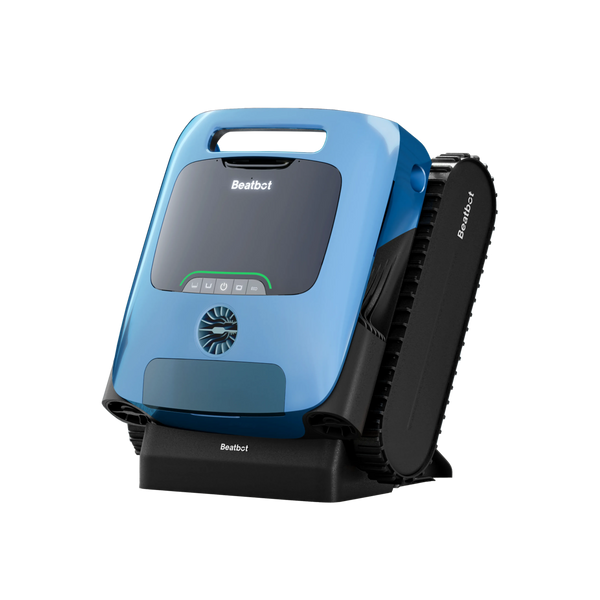
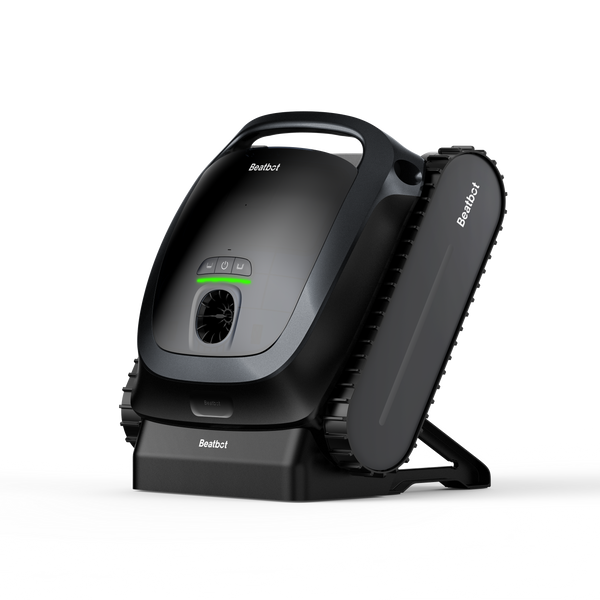
Automatic cleaning: A cordless robotic pool cleaner like Beabot can scrub the floor, climb the walls, and remove debris unattended — in less than half the time.
Beabot even handles waterline scum and corners — spots most pool owners miss. It's not just about saving labor; it's about thoroughness.
Beabot is redefining the way of pool cleaning— smarter, faster, and more hands-off than ever. With multiple models to choose from, there's a Beabot built for every kind of pool cleaning need.
Beabot Hot Seller


3. Remove and Store Pool Accessories
It sounds obvious, but you’d be surprised how many people leave their steps, floats, or skimmer baskets in the pool.
Winter’s freeze-thaw cycle can warp, crack, or discolor anything you forget to pull out.
So:
-
Take everything out
-
Rinse it clean
-
Let it dry completely
-
Store it in a dry, shaded place
This includes ladders, handrails, return fittings, pool toys, and solar covers. Label storage bins to make next spring easier. And while you're at it, inspect for damage.
4. Adjust the Water Level
Yes, you need to lower your water level — but how much depends on your cover type.
-
Mesh cover? Lower to 12–18 inches below the skimmer to allow for rain and snow.
-
Solid cover? 3–6 inches below to keep pressure off the cover but retain water level.
-
Automatic cover? Often no lowering is needed — check your manufacturer’s guidance.
If you’re not sure which cover you have, here's a quick tip: mesh lets water through and requires a pump or drain; solid covers are waterproof and usually need a drain panel or pump.
Also, if your pool has tile near the waterline, consider lowering water just below the tile to avoid cracking due to expansion from freezing.
5. Winterize the Filter System
Your filter, pump, and heater have worked hard all summer. Let’s not forget them.
-
Backwash or clean your filter (cartridge or sand)
-
Disconnect and drain all plumbing lines
-
Remove drain plugs
-
Let everything air-dry before storing
Use a wet/dry vac if needed to remove remaining water. Leave valves open so moisture doesn’t build up. Store plugs in a labeled bag to avoid misplacing them.
If you live somewhere cold, this isn’t optional. A single pipe full of trapped water can freeze, expand, and burst — costing hundreds to fix.
6. Blow Out the Plumbing Lines
If your pool has return lines, skimmer lines, or a main drain, you need to get the water out.
Use a shop vac or air compressor to blow the lines until you see bubbles. Then cap them with winter plugs or add pool-safe antifreeze (never use car antifreeze).
Not sure how? Ask a local pool pro — or check your pool’s plumbing diagram before guessing.
This is the step that separates a smooth spring opening from a cracked disaster.
For extra peace of mind, you can use non-toxic pool antifreeze even after blowing out lines, especially in extremely cold climates.
7. Secure the Winter Cover
Now’s the time to install your winter cover securely.
Remove any floating debris first, stretch it tight, and fasten every anchor point. If you’re using water bags or weights, check for leaks.
Avoid placing heavy objects (like bricks) on the cover — they can tear the material and are dangerous.
And remember: even a great cover can’t protect you if it sags, tears, or collapses under heavy snow.
Give it a once-over every few weeks during winter — even a minute of checking can save hours of cleanup later.
If you’re in a windy area, consider using cover clips or securing blocks to prevent lifting. For mesh covers, consider a leaf net overlay.
Common Pool Closing Mistakes
Every year, pool owners overlook simple but crucial steps — and they pay for it in the spring. Here are the most common mistakes:
-
Forgetting to balance the water before closing: Results in algae blooms, cloudy water, and damaged surfaces.
-
Not lowering water to the correct level: Can cause ice expansion and damage to tiles or covers.
-
Skipping filter cleaning or drain plugs: Leads to buildup, inefficiency, or frozen/burst components.
-
Leaving accessories in the pool: Items crack, discolor, or warp under winter conditions.
Avoiding these errors could save you hundreds of dollars — and your sanity.
Final Thoughts
Closing your pool doesn’t have to be complicated. But it does have to be done right.
Think of it this way: every step above protects your pool, your wallet, and your future weekends next summer.
So — are you ready now?
FAQs
Is Beabot only useful for pool closing season?
Beabot is designed for year-round pool maintenance. While it's perfect for pre-closing deep cleaning, it's equally effective during swim season to keep your pool clear, healthy, and hassle-free week after week.
Can I skip everything and just put the winter cover on?
No, simply throwing a cover over your pool without taking the proper steps is one of the most common mistakes. Without balancing the water, cleaning the pool, adjusting the water level, and protecting the equipment, you risk algae, stains, and structural damage when spring arrives.
What happens if I don’t blow out the plumbing lines?
Failing to blow out your pool lines can lead to trapped water freezing during winter. This can crack pipes and fittings, resulting in expensive repairs. Using a shop vac or air compressor to blow out the lines — and adding non-toxic pool antifreeze — is a simple step that can save you major headaches.
How far should I lower the water when closing my pool?
The ideal water level depends on your pool cover. For mesh covers, lower the water 12–18 inches below the skimmer to account for rain and snow. For solid covers, 3–6 inches below is usually sufficient. Automatic covers may not require any lowering, but you should check the manufacturer’s guidance to be sure.


