


Why Do You Need To Paint The Swimming Pool
2024-06-15
Painting a swimming pool can not only make it look fresh and clean but also play a significant role in protecting the pool's surface from damage. An adequately painted layer can prevent algae growth, resist chemical effects, and shield the underlying material. Additionally, painting addresses minor cracks and imperfections to make the pool remain long and durable. Still, there are many factors to consider when painting a swimming pool, as well as expert tips to enjoy safer swimming.
Steps to Paint a Swimming Pool
Step 1: Drain the Pool
Begin by completely draining the pool. Ensure that the pool is dry before you begin any painting work. This step prevents water from interfering with the cleaning and painting process.
Step 2: Clean the Pool
Use a pressure washer to clean the pool thoroughly, removing dirt, algae, and debris. Scrub the pool with brushes and a mild detergent to ensure the surface is free of oils and other contaminants. This cleaning step is crucial for paint adhesion.

Step 3: Etch the Pool Surface
Use muriatic acid to etch the pool surface. This step creates a rough texture that helps the paint adhere better.
Step 4: Repair Cracks and Chips
Inspect the pool surface for any cracks or chips. Use a suitable patching compound to repair these areas.
Step 5: Prepare for Painting
Mask off any areas you do not want to paint with painter's tape. This includes pool fittings, lights, and skimmers. Ensure you have all your painting tools ready and the pool surface is arid.
Step 6: Apply the Primer (if necessary)
Some pool paints require a primer. If your chosen paint does, apply the primer according to the manufacturer's instructions. Ensure:
- Even application across all surfaces.
- Complete drying as recommended by the primer manufacturer.
Step 7: Paint the Pool
Begin applying the paint using rollers and brushes. Follow these guidelines:
- Application Method:Start from the deep end and work to the shallow end to avoid stepping on freshly painted surfaces.
- Coating:Apply the paint evenly, adhering to the manufacturer's guidelines for application thickness and drying times. Typically, you will need to apply two layers.
- Drying Time:Each layer should be dried thoroughly before applying the next one.
Step 8: Let the Paint Cure
After applying the final layer, allow the paint to cure for the recommended time, ranging from a few days to a week, depending on the paint type and weather conditions. This curing time is essential for ensuring a durable finish.
Step 9: Refill the Pool
Once the paint is fully cured, refill the pool with water. During the first few days, monitor the pool for any signs of paint peeling or issues. If any problems arise, consult the paint manufacturer for troubleshooting tips.
Tips for Painting Your Pool
Choose the Right Paint:
- Epoxy Paint:Highly durable and long-lasting, ideal for concrete and fiberglass pools.
- Acrylic Paint:Easier to apply and suitable for plaster and concrete pools.
- Rubber-Based Paint: Flexible and resistant to pool chemicals.
Weather Conditions:
- Choose a period of dry, warm weather to paint your pool.
- Don't paint in rainy conditions to ensure proper drying and adhesion.
Safety Precautions:
- Apply protective wearing when handling chemicals and paint.
- Follow the manufacturer's safety instructions for each product used.
Application Technique:
- Use long, even strokes with rollers and brushes to avoid streaks and uneven coverage.
- Overlap each stroke slightly to ensure complete coverage.
Maintenance:
- Regularly check the pool surface for signs of wear and touch up as necessary.
- Maintain balanced pool chemistry to extend the life of the paint.
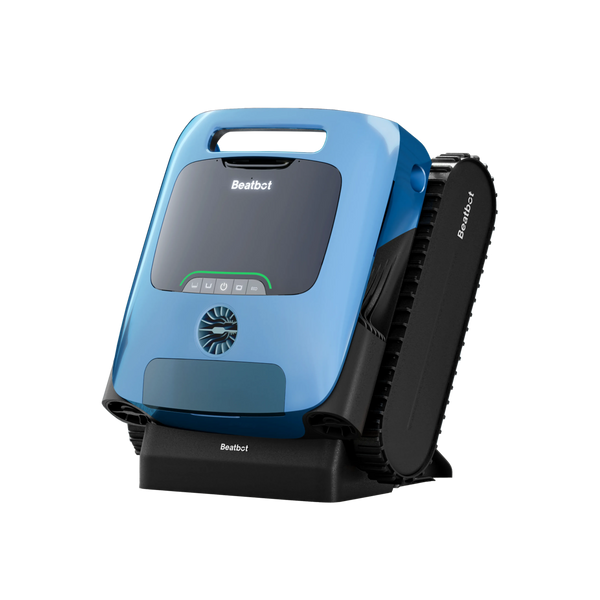
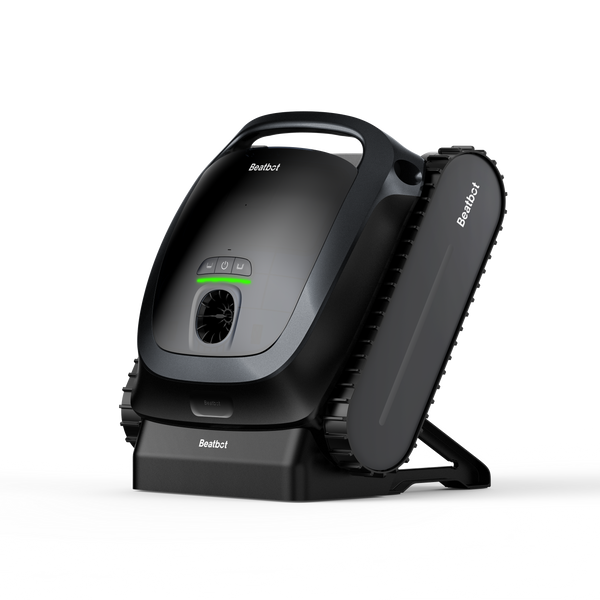
- Utilize a robotic pool cleanerto keep the pool clean and reduce dirt and algae buildup, helping to preserve the freshly painted surface. Remember that these devices have strong power and efficient cleaning capabilities when using a pool robot. It's crucial to let the paint completely cure before using the robotic cleaner to avoid any damage to the fresh paint.

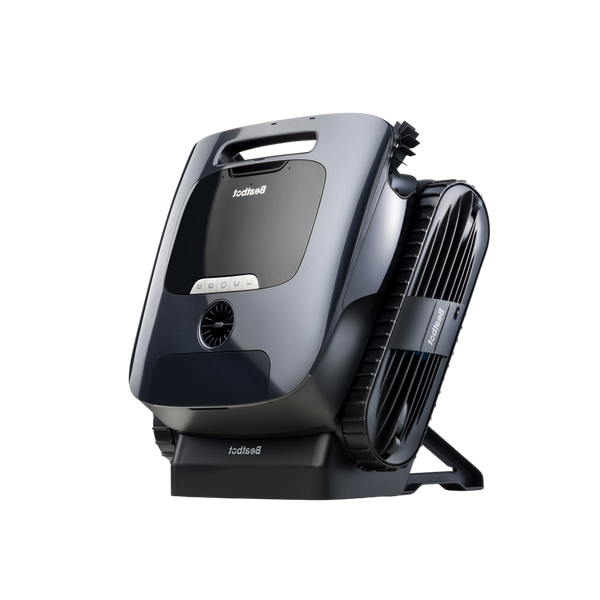
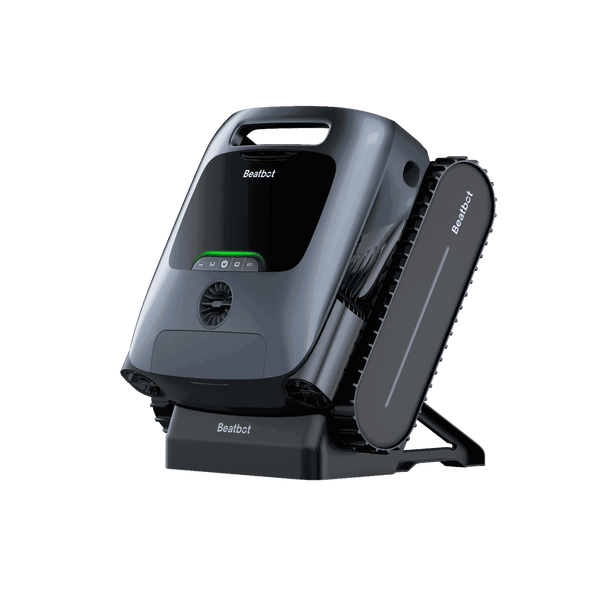
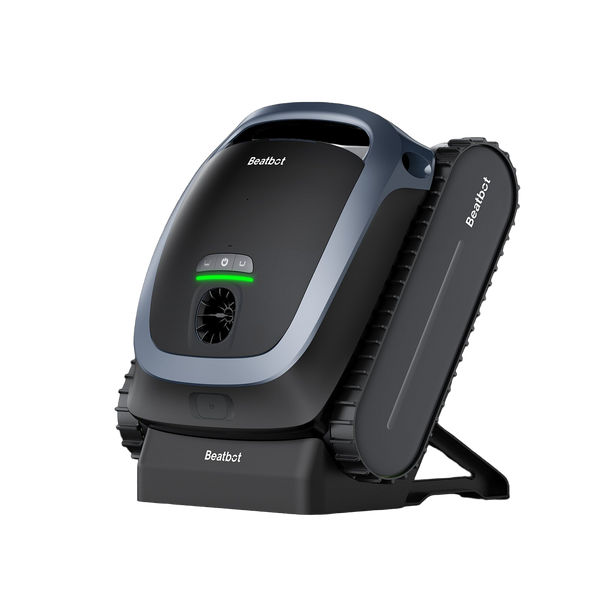
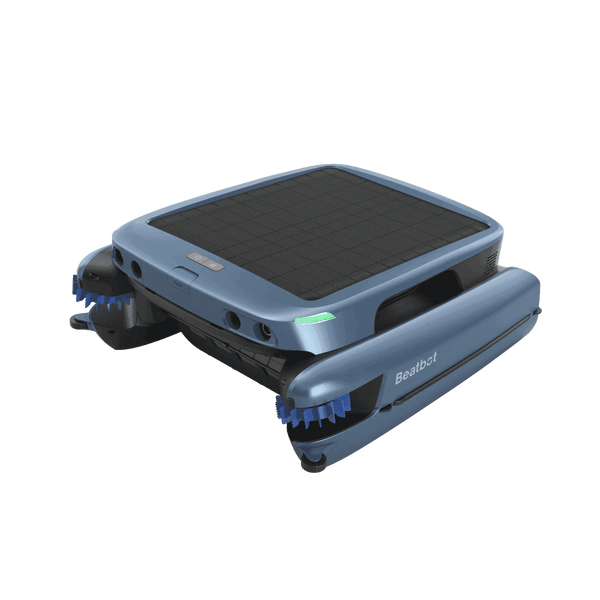
Beatbot AquaSense Pro
Conclusion
Following these steps and tips can achieve a professional and long-lasting finish for your swimming pool. Proper preparation and suitable materials are critical to a successful painting project. Enjoy your newly painted pool and its refreshed look to your outdoor space.
Additional Tips for a Successful Pool Painting Project
Testing for Moisture
Before painting, test the pool surface for moisture. Even if the surface appears dry, underlying moisture can cause paint adhesion problems. To test:
- Tape a small piece of clear plastic to the pool surface.
- Leave it for 24 hours.
- If condensation forms under the plastic, the surface is still too moist for painting.
Temperature Considerations
The temperature during painting and curing should be around 50°F or so to 90°F. Or you should follow the instructions of the paint manufacturer. Avoid painting under direct sunlight.

Mixing Paint Properly
Thoroughly mix the paint according to the manufacturer's instructions to ensure consistent color and performance. Use a clean stick or mechanical mixer for even mixing.
Painting Edges and Corners
Paint carefully. For the edges and corners where rollers can't reach, you can use a smaller brush to ensure that these areas are well-covered to prevent peeling and chipping.
Environmental Impact
Always protect the environment. Use eco-friendly pool painting products, even though they might be slightly more expensive than others. Remember: poor paint can be significantly harmful to the environment.


About the author

Emily Thompson
Emily Thompson is an Updates Writer for Beatbot Blog, with over 8 years of writing experience in environmental protection, pool chemistry, landscape design, and gardening.Since May 2024, she has been contributing to Beatbot, sharing her expertise in the field of pool care, such as pool chemistry, equipment maintenance, and landscape maintenance around pools, to help readers make informed decisions and provide corresponding guidance when needed. As a seasoned environmental science practitioner, Emily understands how smart environmental robots will revolutionize daily life.


